
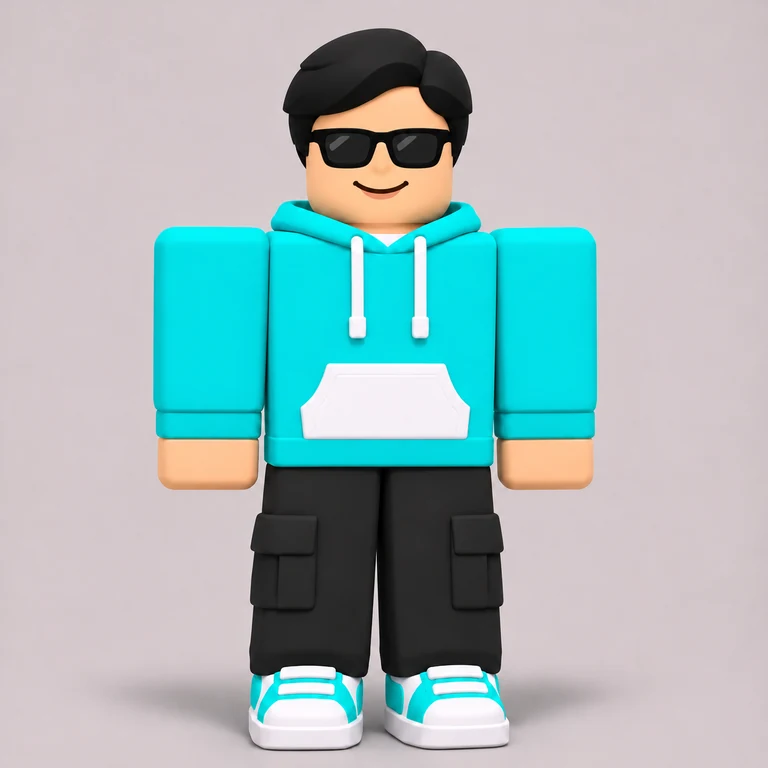
Roblox avatar
View skin texture

Upload a Roblox avatar screenshot and create a Minecraft skin. Review the AI character preview, simplify accessories and download a 64×64 skin PNG.
Preview: 1 credit. Convert an approved preview: 2 more credits. Sign-in required.Preview: 1 credit · Convert to skin: 2 credits
to create and save your skins.
Start a generation to preview your character here.
Examples use fictional, AI-created references. They are not customer photos or account imports.
Use Roblox to Minecraft Skin to reinterpret the appearance of a Roblox avatar as a Minecraft player skin. Start with a screenshot or reference image of the character, rather than an account name or user ID. The AI builds a front-and-back Minecraft character preview from that image. You can review the clothing, hairstyle and simplified accessories before confirming the skin conversion. This is a visual character-creation workflow; it does not transfer a Roblox account, purchased items or avatar ownership into Minecraft.
Capture one avatar with the face, torso, arms and legs visible. Crop away inventory panels, chat, menus and other players before uploading a PNG, JPG or WebP file up to 10 MB. A clear front view is useful. If a distinctive feature appears only on the back, describe it in the instructions instead of assuming the converter can discover it from your Roblox account.
Name the features that define the avatar: hair color, glasses, jacket, shirt design or contrasting shoes. Generate the preview and check both views. Large hats, wings, floating effects and nonstandard body shapes must be simplified into the fixed Minecraft player model. Use the description to say which details should survive as texture colors or patterns, and inspect the result before you confirm.
Convert the approved preview into a 64×64 Classic skin PNG. Rotate the 3D result to inspect the face, sleeves and back. The file can be edited further in the standard skin editor, then imported on a compatible Minecraft edition and device. Keep the downloaded PNG; a Roblox screenshot and the generated character preview are not the files that Minecraft expects for a custom skin.
The Roblox to Minecraft Skin converter reads the reference image you upload. It does not fetch an avatar through a username, user ID or a Roblox login. This keeps the workflow focused on a visible character design and avoids suggesting that platform accounts or marketplace assets can be migrated. Choose an image you are allowed to use. A clean, unobstructed screenshot helps identify the outfit, but the final appearance is an AI interpretation. The demonstration on this site uses an AI-created Roblox-style reference and should not be mistaken for a real customer account or an asset-transfer feature.
Roblox avatars can use layered clothing, oversized hats, wings, unusual limbs and body shapes that do not exist in the Classic Minecraft player model. A standard skin PNG changes the texture on a fixed head, torso, arms and legs; it cannot add a new wing mesh or a floating object. Ask for recognizable colors or a flat pattern to suggest those accessories. Faces with simple dots may need deliberate eye shapes or glasses to stay readable after conversion. Inspect the preview carefully for disconnected facial marks, a missing mouth or clothing that changes unexpectedly between the front and back views.
Treat the avatar screenshot as a design reference rather than a promise of exact reconstruction. A useful description can assign priority to hair, face and outfit, which helps when the reference contains many competing details. Once the skin is converted, use the 3D viewer to check areas that the Roblox screenshot did not show. The editor is the appropriate next step for a precise eye, collar or shoe correction. If you want to combine this avatar with another visual design, use the AI Minecraft Skin Merger, upload both references and review its combined preview before generating the final texture.
This tool accepts image uploads, not account lookups. Take a screenshot of the avatar and upload that reference. You do not need to enter your Roblox password, grant access to your account or connect your Roblox inventory. The result recreates aspects of the visible character as a new Minecraft skin; it does not move purchased items or ownership between games.
No exact geometry transfer is promised. A Minecraft Classic skin uses a fixed player model, so large accessories and unusual body shapes need to become simplified textures or be omitted. Mention which colors or patterns are important, then inspect the preview. A skin PNG cannot install custom geometry, change Minecraft gameplay or reproduce every layered Roblox accessory as a separate object.
Sign in to use AI generation. Creating a character preview costs 1 credit. Review that image before you choose to spend another 2 credits converting it into a downloadable skin. A new preview is a new generation. You can inspect examples without paying. New accounts currently receive 3 welcome credits. All credits, including welcome credits, purchases and refunds, never expire.
The final download is a Classic-model 64×64 PNG skin texture. It is an unfolded layout containing the surfaces of the head, body, arms and legs, rather than the large character preview. Use the file in Minecraft Java or a Bedrock device that supports custom skin import. You can also open it in the free editor to adjust individual pixels before importing it into your game.
Reference images are sent to the image-generation provider to complete your request. Generated previews and skins are associated with your account, and private result downloads require your session. This is a hosted AI service, rather than an offline converter. Use references that you have permission to edit and read the privacy policy for the processing details. Do not assume an upload is deleted immediately.
A failed generation returns the credits reserved for that failed stage. A successful preview is still a completed image-generation step, even if you decide its appearance needs another attempt. Review the face, outfit and body proportions before confirming conversion. For a small defect in an otherwise useful skin, download it and make a precise correction in the free skin editor instead of regenerating everything.