
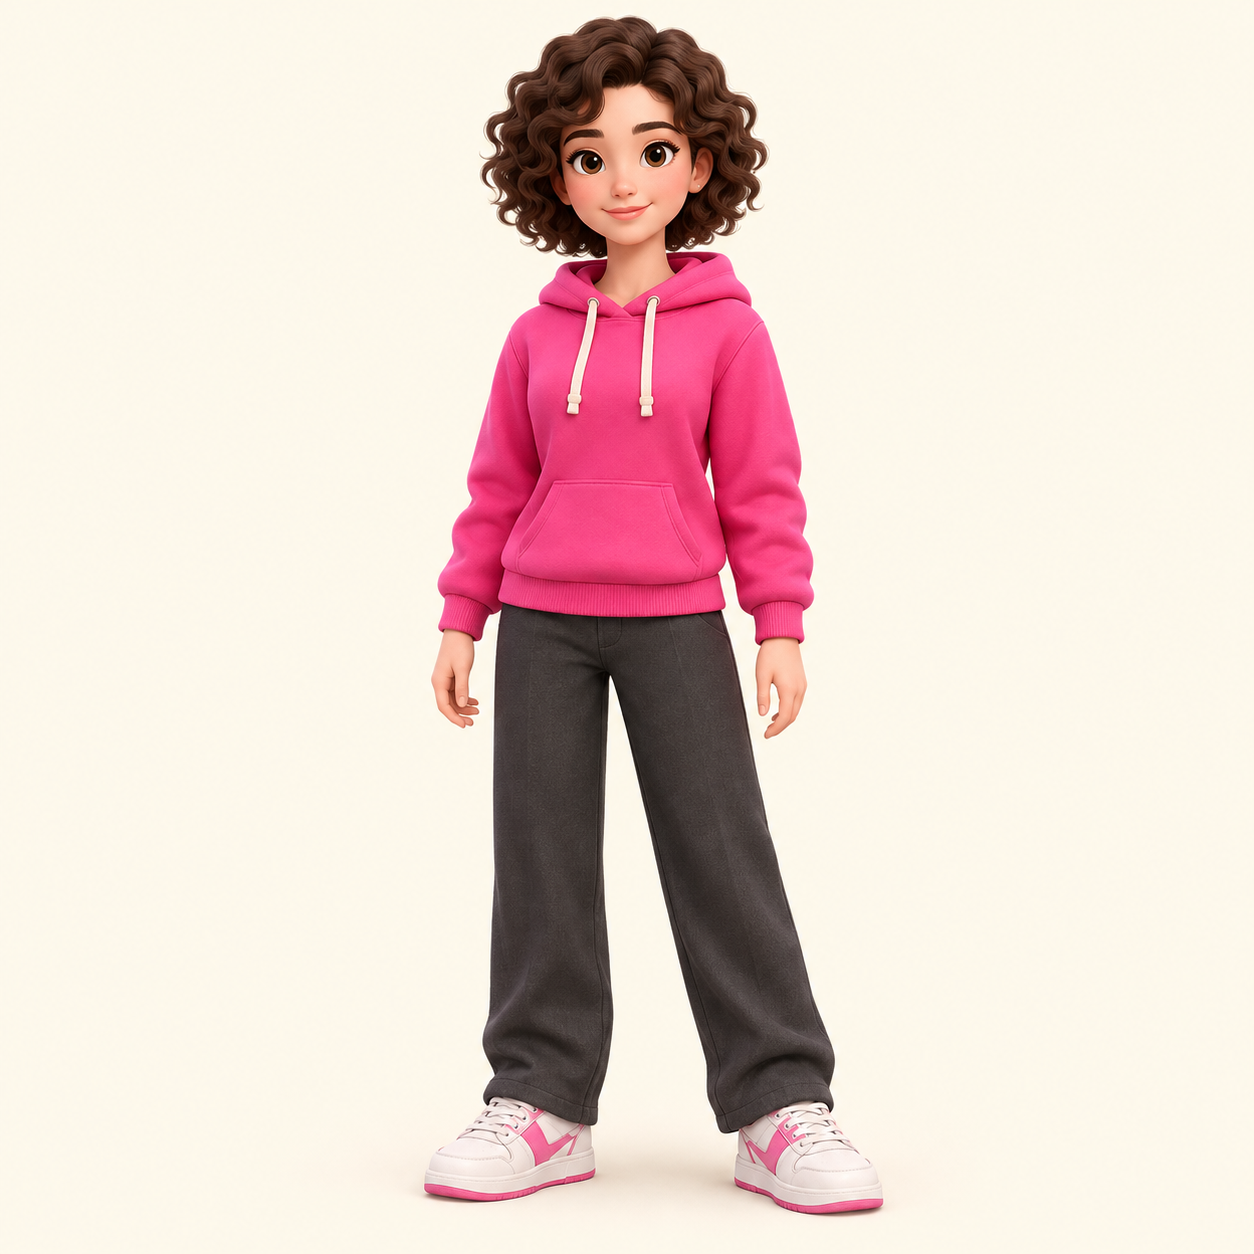
Rose hoodie
View skin texture

Turn a character image, drawing or avatar into a Minecraft skin. Review the AI preview, inspect the result in 3D and download a 64×64 PNG.
Preview: 1 credit. Convert an approved preview: 2 more credits. Sign-in required.Preview: 1 credit · Convert to skin: 2 credits
to create and save your skins.
Start a generation to preview your character here.
Examples use fictional, AI-created references. They are not customer photos or account imports.
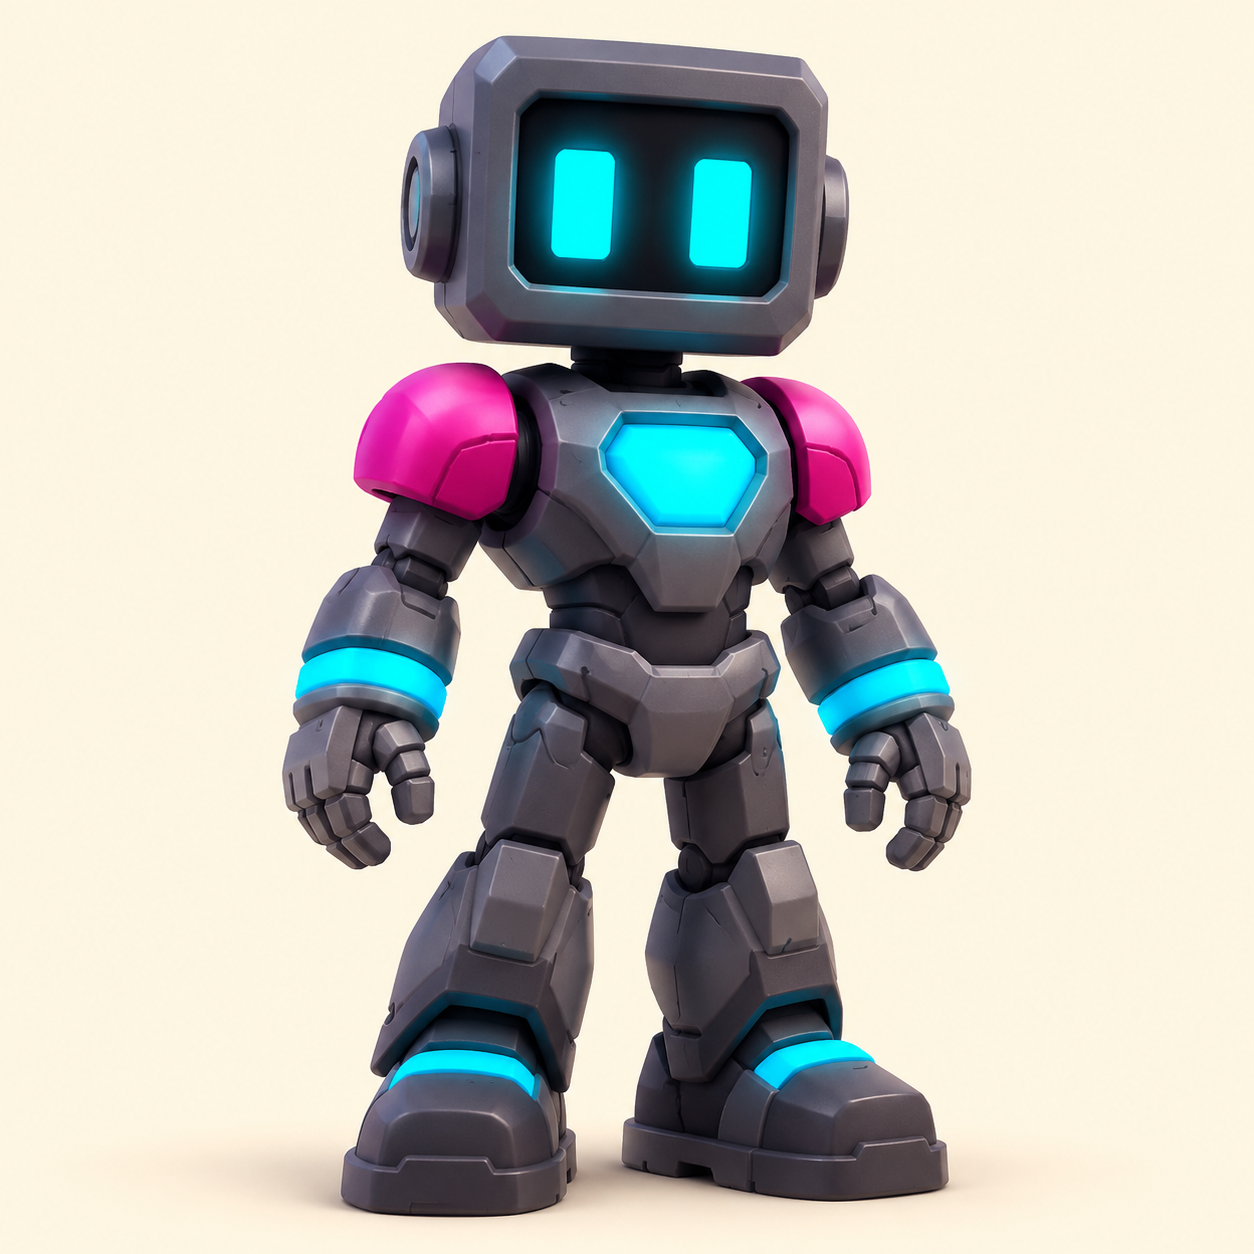

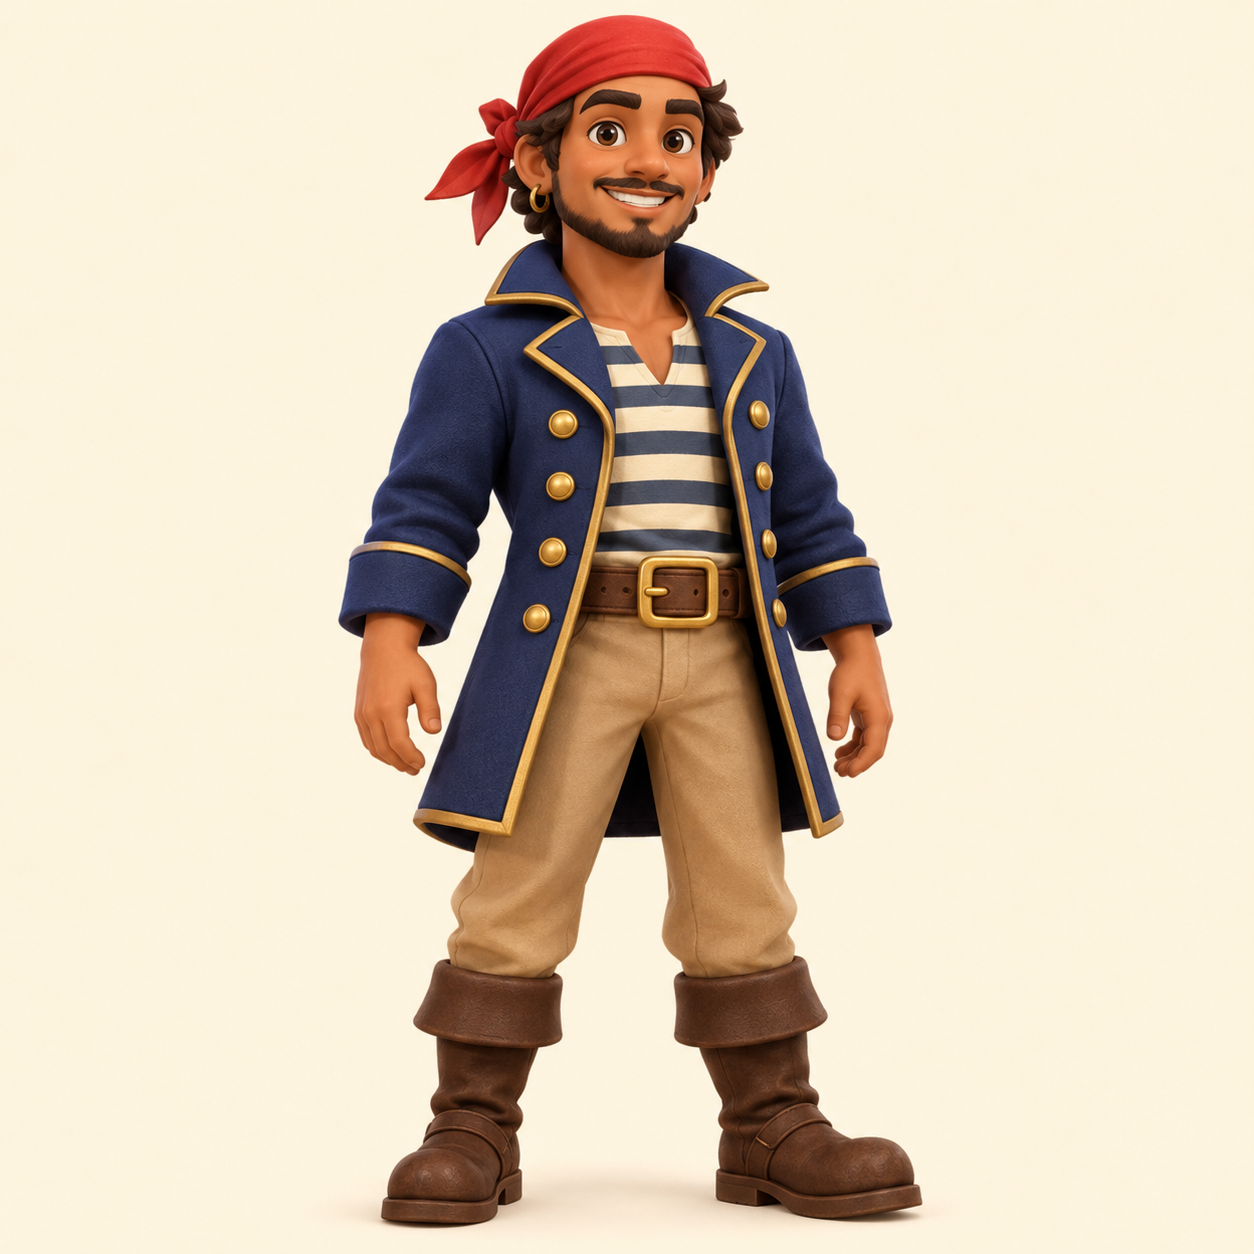

Use the Image to Minecraft Skin converter when you already have a visual idea: a character drawing, an illustration, a game avatar or a reference picture. Upload the image and describe the details that matter most. The AI creates a Minecraft-style front-and-back character preview first. Once you approve that design, a separate conversion builds the actual skin texture. This workflow gives you a chance to check the character before spending credits on the final file.
Upload one PNG, JPG or WebP file up to 10 MB. A clear view of the entire character is helpful because the skin needs a head, torso, two arms and two legs. Remove busy menus or unrelated characters from the reference when possible. This image-to-skin workflow is for interpreting a character, not placing a landscape photograph across an unfolded texture.
Add a short description of the hairstyle, clothing and colors to preserve, then generate the preview. Inspect the front and back together. Missing information is completed by the AI, so the back may contain inferred details rather than an exact reconstruction. If you need a different design, change the description or source image before confirming the skin conversion.
Confirm the preview to start the 64×64 skin conversion. When it finishes, drag the 3D character to examine the face, sleeves, legs and back. Download the PNG texture, or continue into the pixel editor for a local correction. Keep the downloaded texture file for game import; the larger preview image is a design reference, not a Minecraft skin file.
The Image to Minecraft Skin tool accepts ordinary reference images and creates a new interpretation of the character. That is a different task from resizing an existing skin PNG. If your source is already a valid 64×64, 64×32 or 128×128 unfolded skin and you want to change its layout, size or arm model, use the Minecraft Skin Converter instead. Keeping these workflows separate prevents a finished skin texture from being unnecessarily redrawn by AI. It also helps you keep pixel-level details when the task only requires a format change.
A Minecraft face has very few pixels, so a readable silhouette, separated eye shapes and a clear clothing palette matter more than tiny decoration. Describe large features such as a red jacket, dark boots or rectangular glasses. Small lettering, thin jewelry and elaborate hair strands may be simplified during conversion. A reference with a visible front, unblocked face and distinct sleeves usually gives a more useful starting point than a crowded scene. Inspect seams between the torso, arms and legs after conversion, because a flat reference cannot show every surface of the final player model.
An image, photo and avatar can all be starting points for this page, but each benefits from different preparation. A drawing should show the intended clothing and colors. A portrait may need a written description of the unseen outfit. A Roblox screenshot should isolate one character and remove interface clutter. Use the related dedicated tools when you want guidance for those inputs. After generation, the 64×64 editor is useful for face details and color corrections; the HD editor can enlarge a skin for additional manual painting, without turning the AI output itself into an HD generation.
No. Reducing an ordinary image to 64×64 leaves it as a tiny picture. A playable skin needs a specific unfolded layout, with each body surface placed in its own region. This workflow first interprets the reference as a Minecraft character, then converts the approved design into that layout. A texture converter is the right choice when the input is already a properly arranged skin file.
Sign in to use AI generation. Creating a character preview costs 1 credit. Review that image before you choose to spend another 2 credits converting it into a downloadable skin. A new preview is a new generation. You can inspect examples without paying. New accounts currently receive 3 welcome credits. All credits, including welcome credits, purchases and refunds, never expire.
The final download is a Classic-model 64×64 PNG skin texture. It is an unfolded layout containing the surfaces of the head, body, arms and legs, rather than the large character preview. Use the file in Minecraft Java or a Bedrock device that supports custom skin import. You can also open it in the free editor to adjust individual pixels before importing it into your game.
Reference images are sent to the image-generation provider to complete your request. Generated previews and skins are associated with your account, and private result downloads require your session. This is a hosted AI service, rather than an offline converter. Use references that you have permission to edit and read the privacy policy for the processing details. Do not assume an upload is deleted immediately.
A failed generation returns the credits reserved for that failed stage. A successful preview is still a completed image-generation step, even if you decide its appearance needs another attempt. Review the face, outfit and body proportions before confirming conversion. For a small defect in an otherwise useful skin, download it and make a precise correction in the free skin editor instead of regenerating everything.