
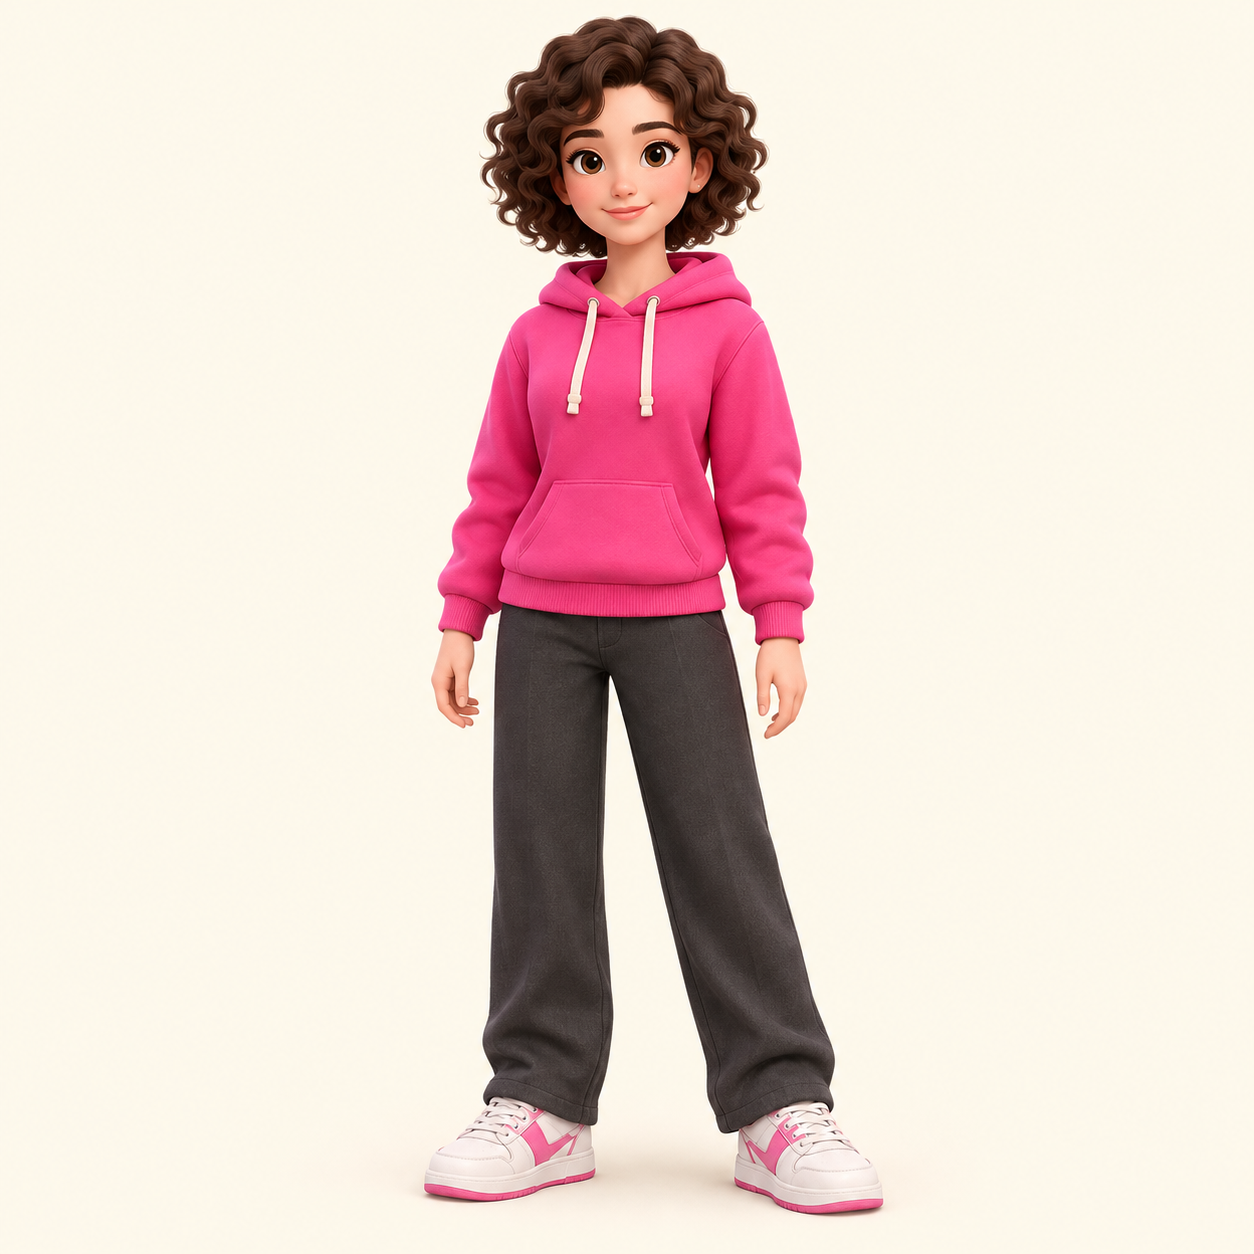
Rose hoodie
View skin texture

Create a Minecraft skin from a photo. Keep the hairstyle, outfit and colors you choose, review the character preview, then download the skin PNG.
Preview: 1 credit. Convert an approved preview: 2 more credits. Sign-in required.Preview: 1 credit · Convert to skin: 2 credits
to create and save your skins.
Start a generation to preview your character here.
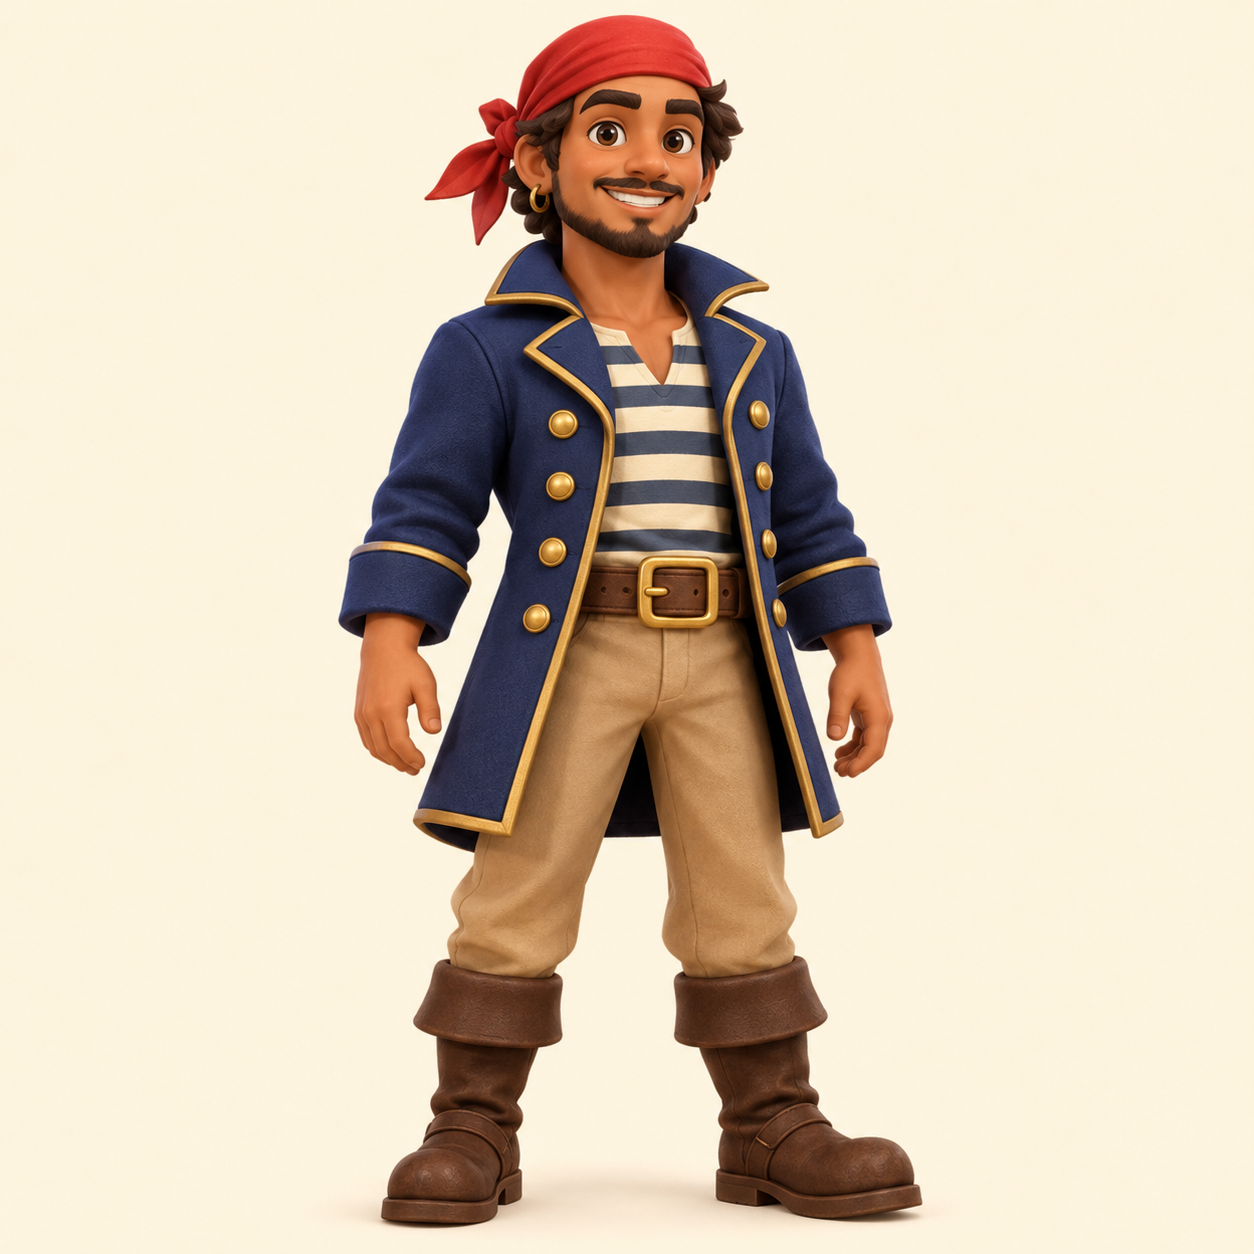
Examples use fictional, AI-created references. They are not customer photos or account imports.

The Photo to Minecraft Skin tool turns a photograph into a simplified Minecraft character design. Upload your own photo or another reference you have permission to use, then describe which visible features to keep. The workflow is designed around a character preview followed by a separate skin conversion. It can suggest a recognizable hairstyle and outfit, but a small pixel face cannot guarantee a lifelike likeness. You can inspect the preview before creating the final skin file.
Choose a PNG, JPG or WebP image up to 10 MB with a visible face, hairstyle and clothing. A front-facing full-body photo supplies more outfit information than a cropped portrait. A portrait can still be used, but add a description of the trousers and shoes you want. Avoid heavy filters, strong face shadows and large objects that obscure the clothing.
Use the optional instructions to name recognizable details such as dark curly hair, square glasses, a green jacket or white trainers. Generate the character preview and check whether the simplified face and outfit communicate the right idea. The unseen back and lower body are inferred from the available information, so review them instead of assuming every feature was visible in the original photo.
Confirm a preview you are happy with, wait for the skin texture to finish and inspect it in 3D. The exported file is a 64×64 Classic skin PNG. Download it, then use the standard editor if an eye, sleeve or shoe needs a small correction. Import the resulting file through the skin controls supported by your Minecraft edition and device.
The Photo to Minecraft Skin workflow works best when the subject is easy to distinguish from the background. Natural, even lighting makes skin tone and clothing colors easier to read. If several people appear in the image, crop to one subject before uploading. Glasses, hats and long hair can be represented as pixels, but they may hide other features in the reference. You can explain what lies behind an obstruction in the optional description. Prefer a photograph that already shows the outfit you want instead of asking the AI to infer an entire wardrobe from a close-up face.
A Minecraft head is a small cuboid, so recognizable clothing, hair shape and broad color choices usually communicate more than facial micro-details. This photo-to-skin converter creates a stylized interpretation rather than a biometric replica. A smile may become a short pixel line, lenses may become a pair of compact shapes, and textured fabric may become a few color blocks. Check the front and back of the preview at the same time. If a detail must be exact, finish it with the pixel editor after conversion instead of relying on repeated AI generations to reproduce a tiny feature perfectly.
Only upload photos you are permitted to edit. The image is processed by a hosted AI provider, and the account stores generated results for your history. This page does not promise that a reference remains entirely on your device or is deleted immediately. Once a skin is ready, save the actual skin PNG rather than taking a screenshot of the 3D viewer. The texture includes surfaces that a screenshot cannot capture. A 128×128 editor is available for manual HD work, but the AI photo workflow currently exports 64×64 Classic skins, and HD compatibility depends on the destination.
Yes, a selfie can provide the face and hairstyle reference. Because a selfie often omits the outfit and back, describe the clothes and shoes you want in the optional instructions. A clear full-body photograph gives the AI more direct information about those areas. The result is a stylized character; inspect the preview for hair, eyewear and clothing details before converting it.
Exact likeness is not guaranteed. Minecraft faces and bodies use a small, fixed pixel layout, so subtle facial features and fine photographic detail must be simplified. Focus on recognizable hair, glasses, colors and outfit pieces. If a generated skin is close but one feature looks awkward, use the free editor to move or recolor individual pixels while keeping the rest of the design.
Sign in to use AI generation. Creating a character preview costs 1 credit. Review that image before you choose to spend another 2 credits converting it into a downloadable skin. A new preview is a new generation. You can inspect examples without paying. New accounts currently receive 3 welcome credits. All credits, including welcome credits, purchases and refunds, never expire.
The final download is a Classic-model 64×64 PNG skin texture. It is an unfolded layout containing the surfaces of the head, body, arms and legs, rather than the large character preview. Use the file in Minecraft Java or a Bedrock device that supports custom skin import. You can also open it in the free editor to adjust individual pixels before importing it into your game.
Reference images are sent to the image-generation provider to complete your request. Generated previews and skins are associated with your account, and private result downloads require your session. This is a hosted AI service, rather than an offline converter. Use references that you have permission to edit and read the privacy policy for the processing details. Do not assume an upload is deleted immediately.
A failed generation returns the credits reserved for that failed stage. A successful preview is still a completed image-generation step, even if you decide its appearance needs another attempt. Review the face, outfit and body proportions before confirming conversion. For a small defect in an otherwise useful skin, download it and make a precise correction in the free skin editor instead of regenerating everything.